Installing NVIDIA-Omniverse
Installing NVIDIA-Omniverse Guide in Easy Steps
NVIDIA Omniverse is a virtual collaboration platform that enables real-time, cross-disciplinary collaboration among professionals. It is a powerful simulation and visualization platform that supports industry-standard file formats, allowing users to import and work with their existing data and assets. Omniverse leverages real-time ray tracing, physics simulation, and AI technologies to create highly realistic and immersive virtual environments. It facilitates seamless collaboration regardless of location or specialization, bringing together different software applications, tools, and workflows into a unified virtual environment. Omniverse also includes AI capabilities, allowing users to train and deploy AI models within the platform. Overall, Omniverse aims to enhance productivity, streamline workflows, and enable efficient collaboration across industries.
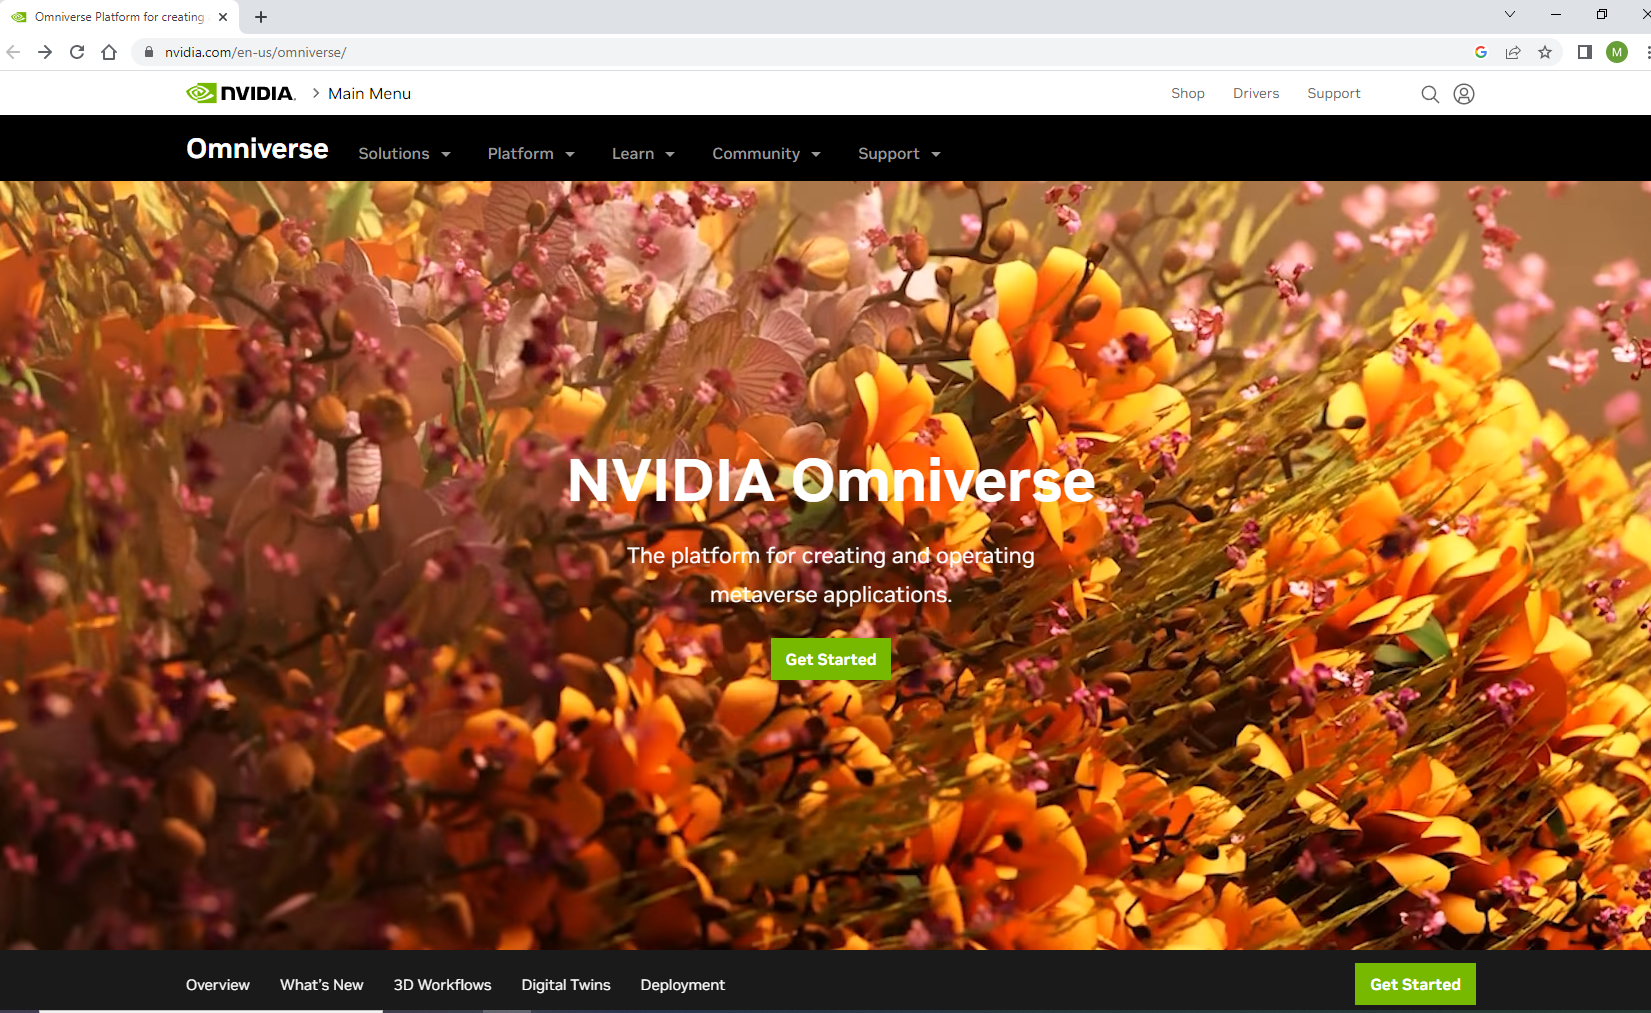
To initiate the installation process for NVIDIA Omniverse, access the official NVIDIA website where you can find the appropriate link: https://www.nvidia.com/en-us/omniverse/ to download the installer for your operating system.
Download Omniverse Standard
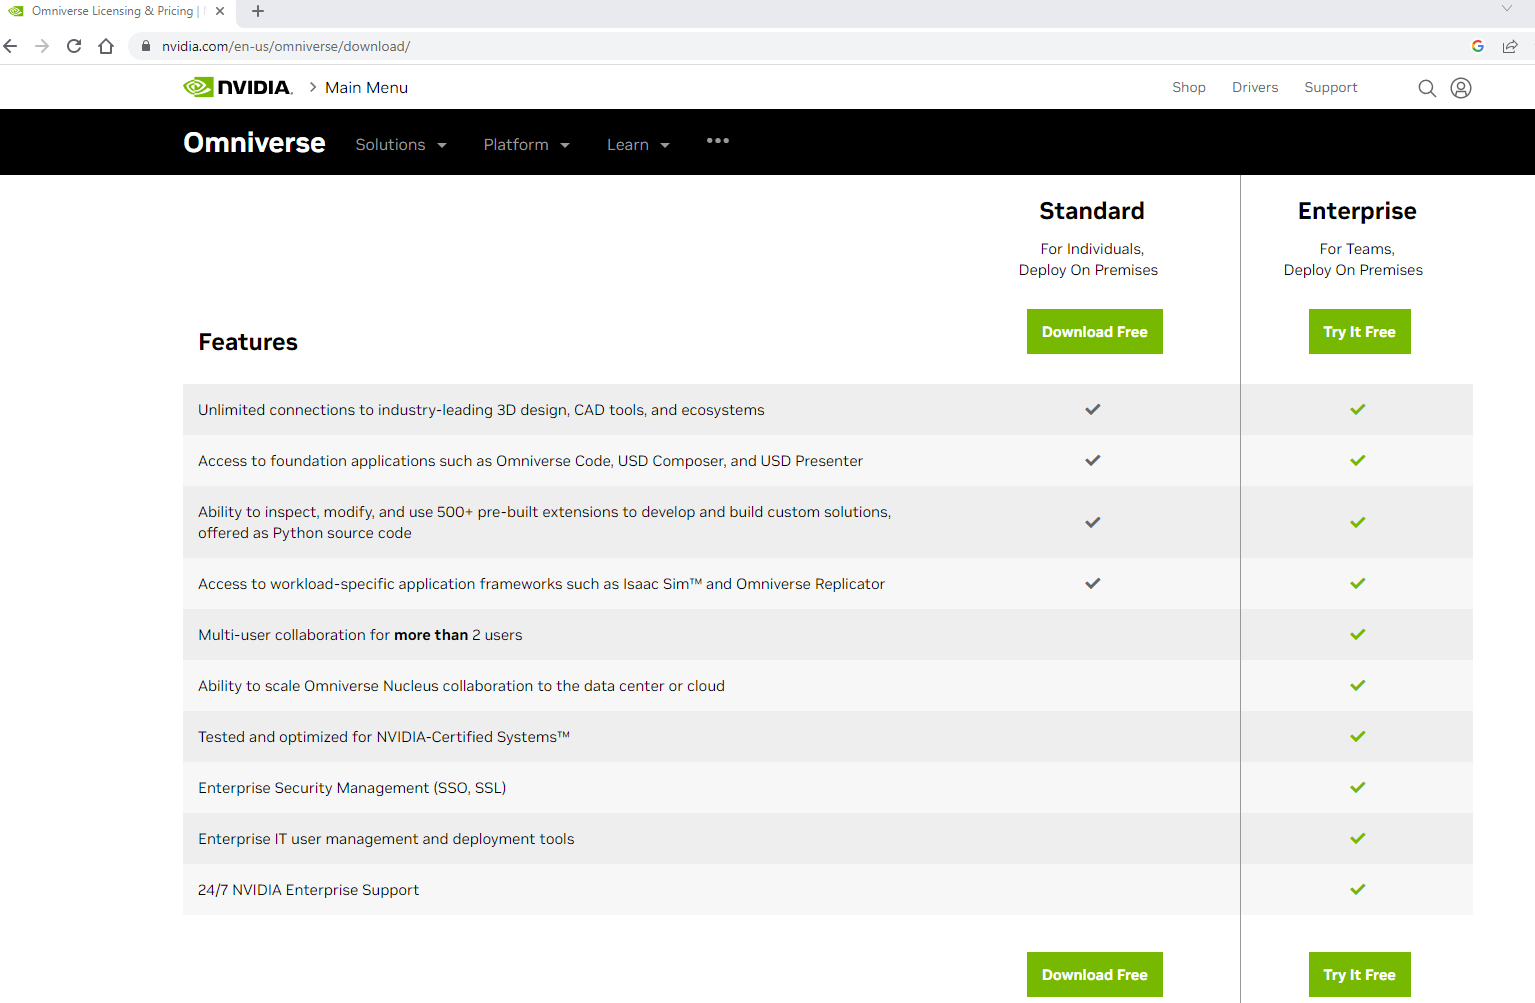
On this page, there are two options one is Standard edition and the other is Enterprise. Click on “Download free” on the standard edition. It will take you to a short form to be filled out before the downloading process starts.
Register to Download Omniverse.
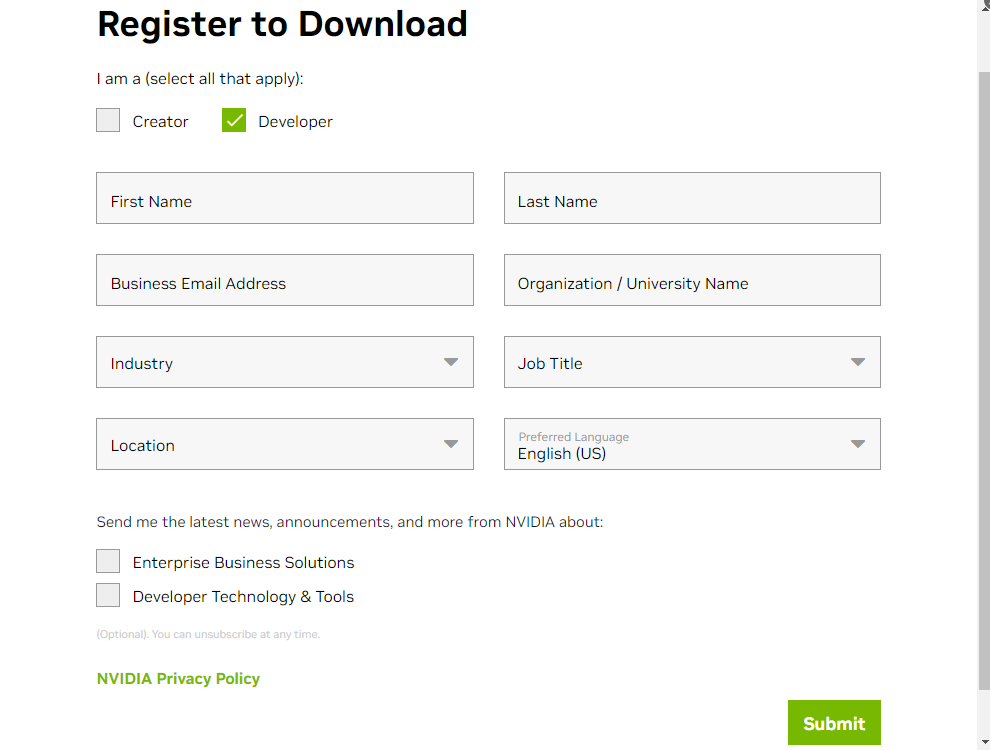
On this form, there are mainly two categories: Creator and Developer. Select either of them and fill out the form with the required information. After completing the form, click on the ‘Submit’ button located in the bottom right corner. If all the steps are followed correctly, you will see the intended window.

On this window, there are two available OS options: Windows and Linux. Download Omniverse according to your current operating system. In this case, we have chosen the Windows OS to proceed further. After clicking on Windows, the launcher file named omniverse-launcher-win.exe will be downloaded.
Install Omniverse Launcher:
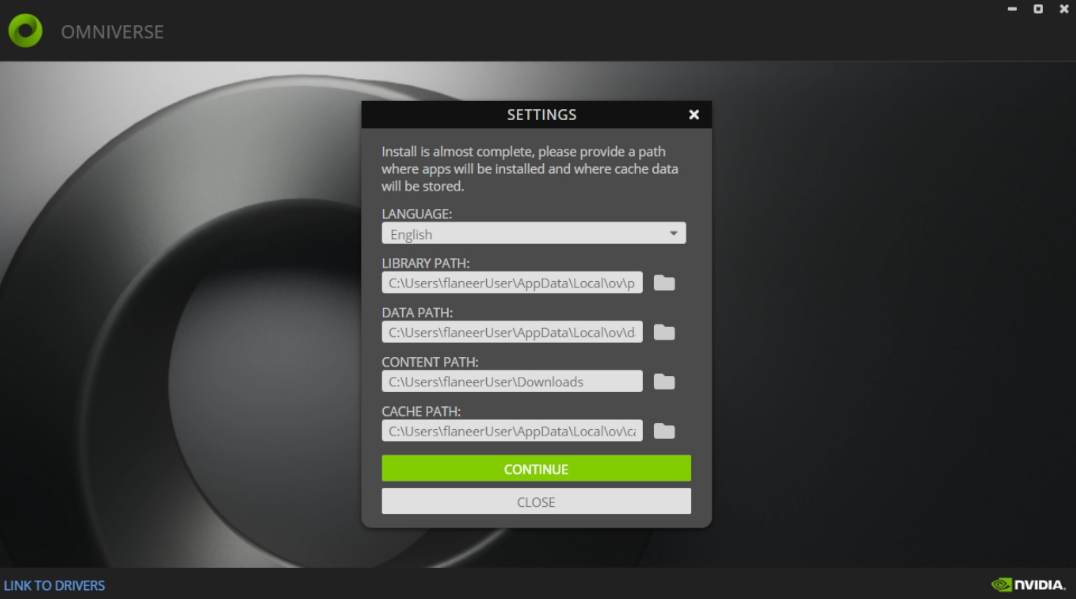
After downloading, run the installer as an administrator to install the Omniverse Launcher. The Launcher is the native app used for installing various NVIDIA Omniverse applications such as Create, Code, ISAAC SIM, and VIEW. It will display a window with pre-filled installation directory paths. Click on the ‘CONTINUE’ button to begin the installation.
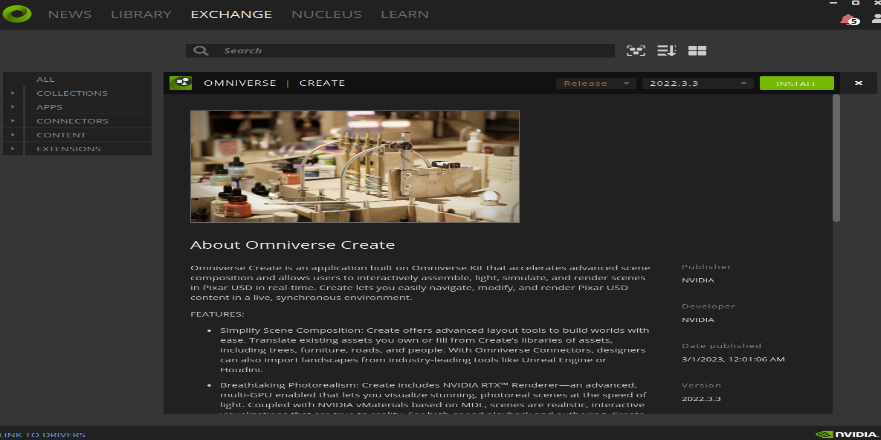
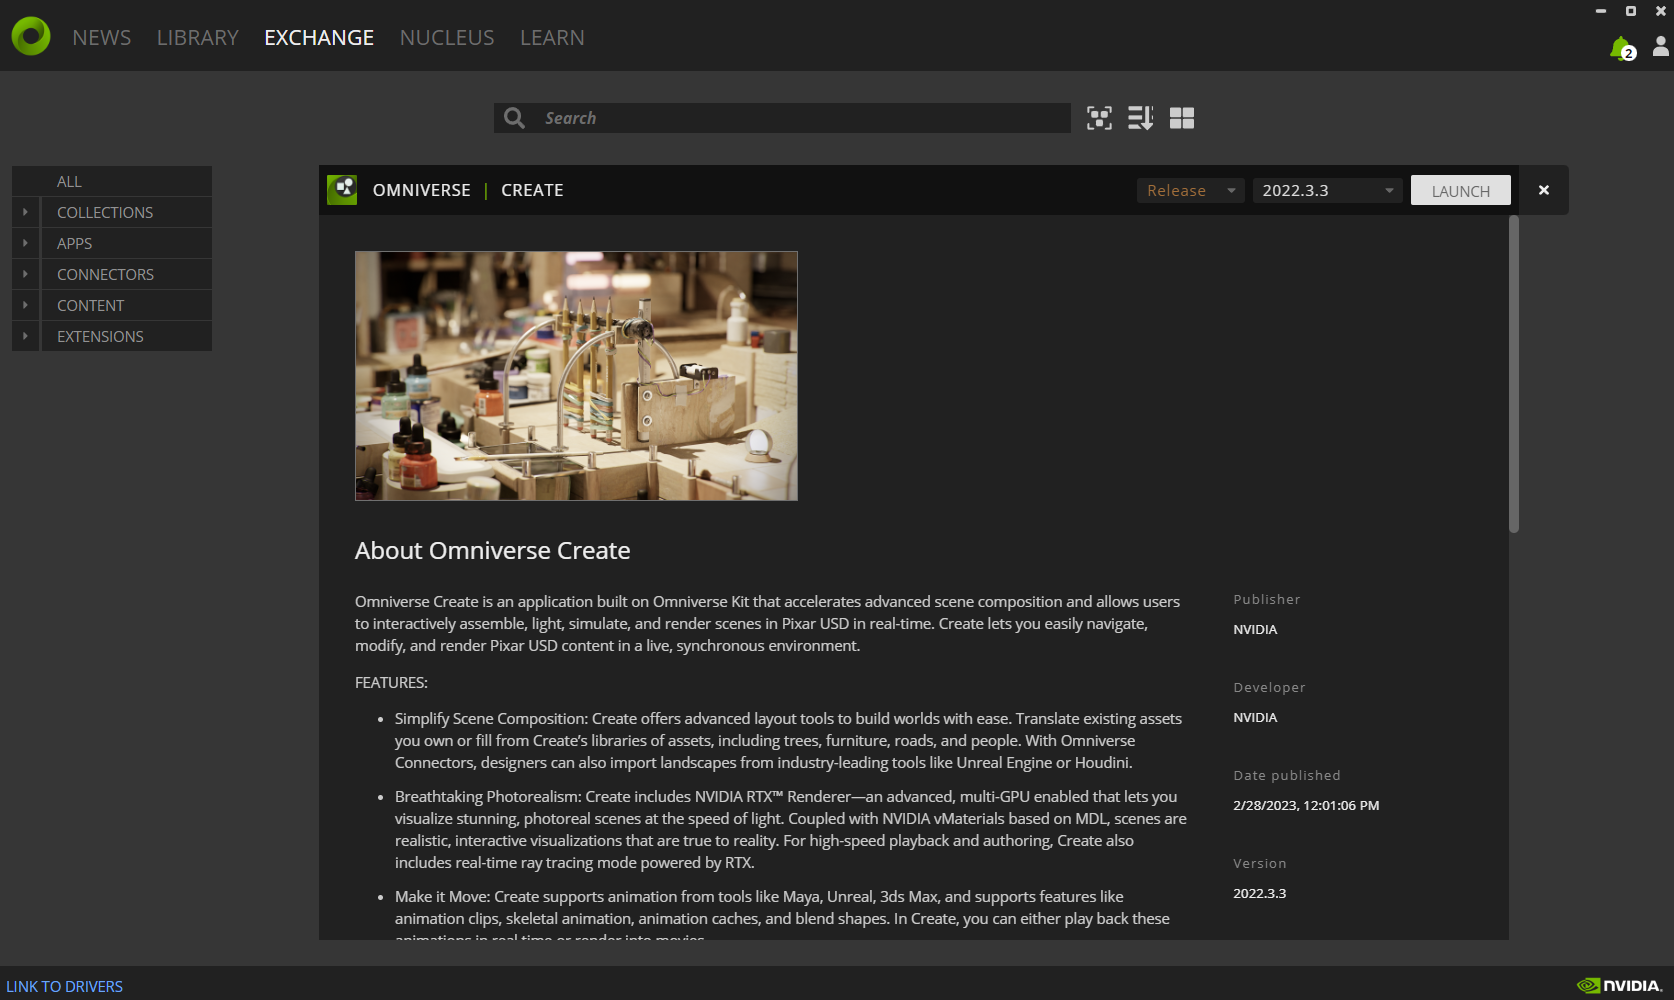
After completion, you will see the Omniverse platform. Go to the ‘EXCHANGE’ tab where you can find all the available apps by Omniverse. Click on the desired application to install it. Once the app is installed, click on the ‘LAUNCH’ button to run it.
For instructions on using Omniverse, refer to the documentation available at: https://docs.omniverse.nvidia.com/
Download Create App:
From the exchange, select the ‘Create’ app and proceed with the download.
The Create app is used for creating scenes, characters, models, and animations.
Setting up the Nucleus:
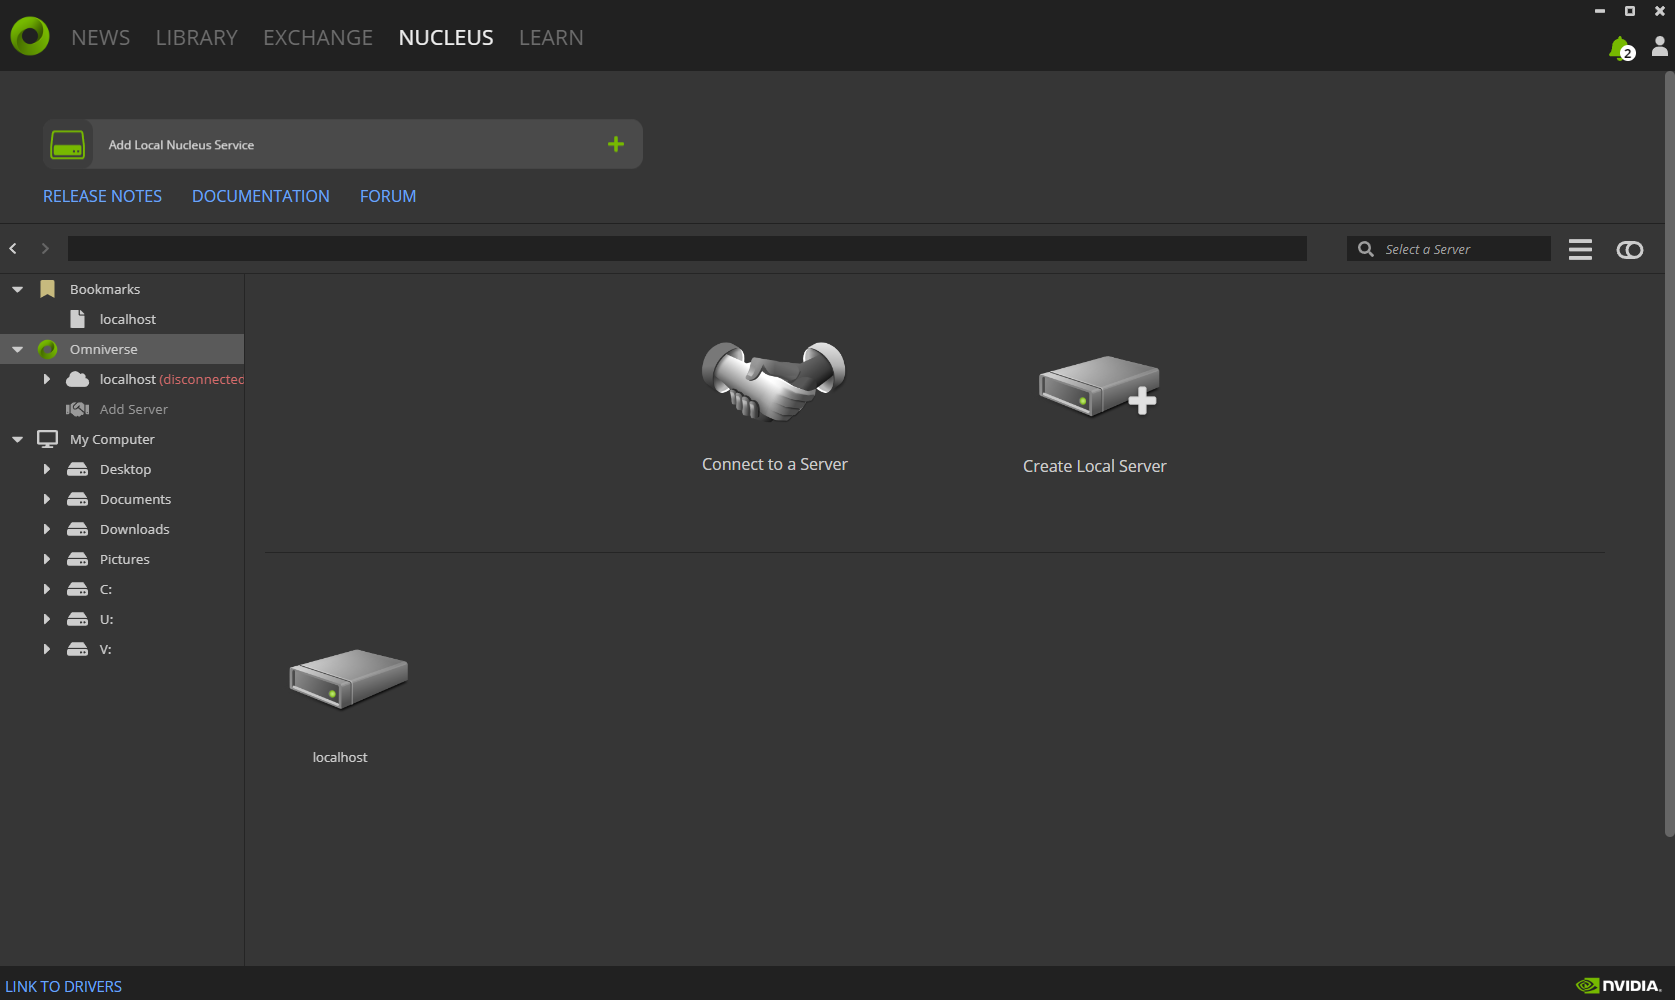
Omniverse provides a variety of sim-ready assets for use. These assets become visible after setting up the Nucleus. Click on ‘NUCLEUS’ in the top left corner to install it.
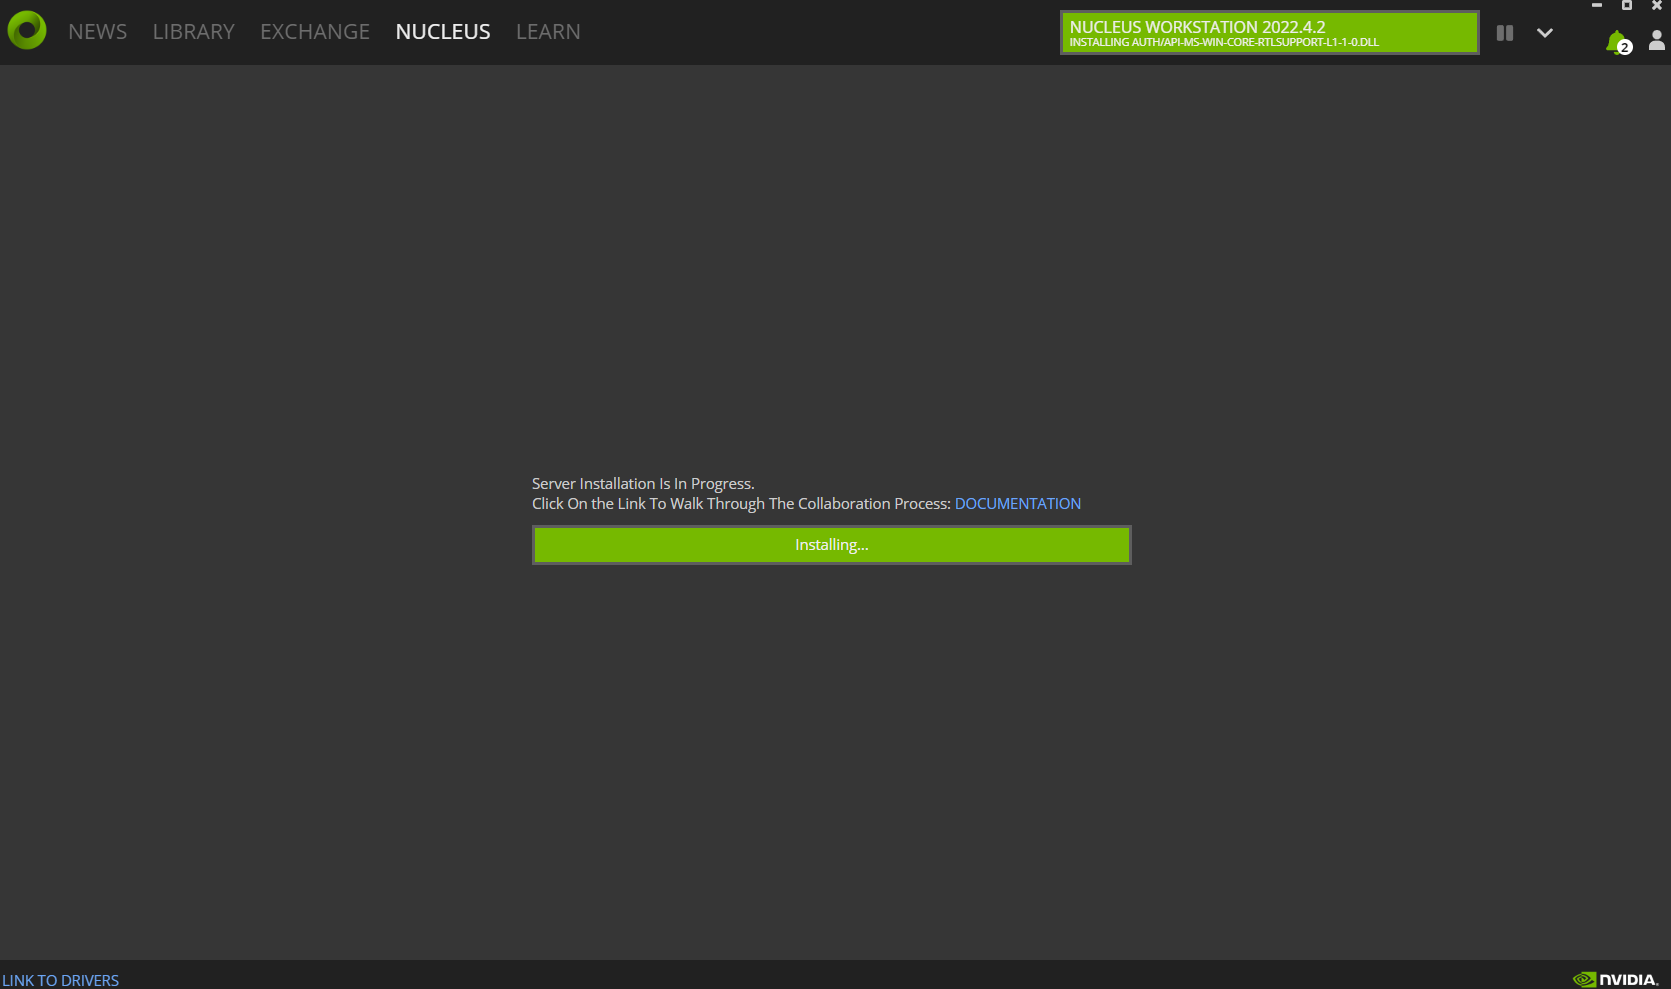
After completion of the NUCLEUS installation, this page will be displayed.
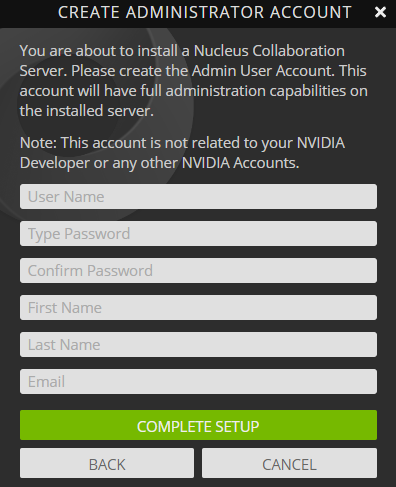
Create a NUCLEUS Account
It will pop up in this window. Now create an account to log in to the local server.
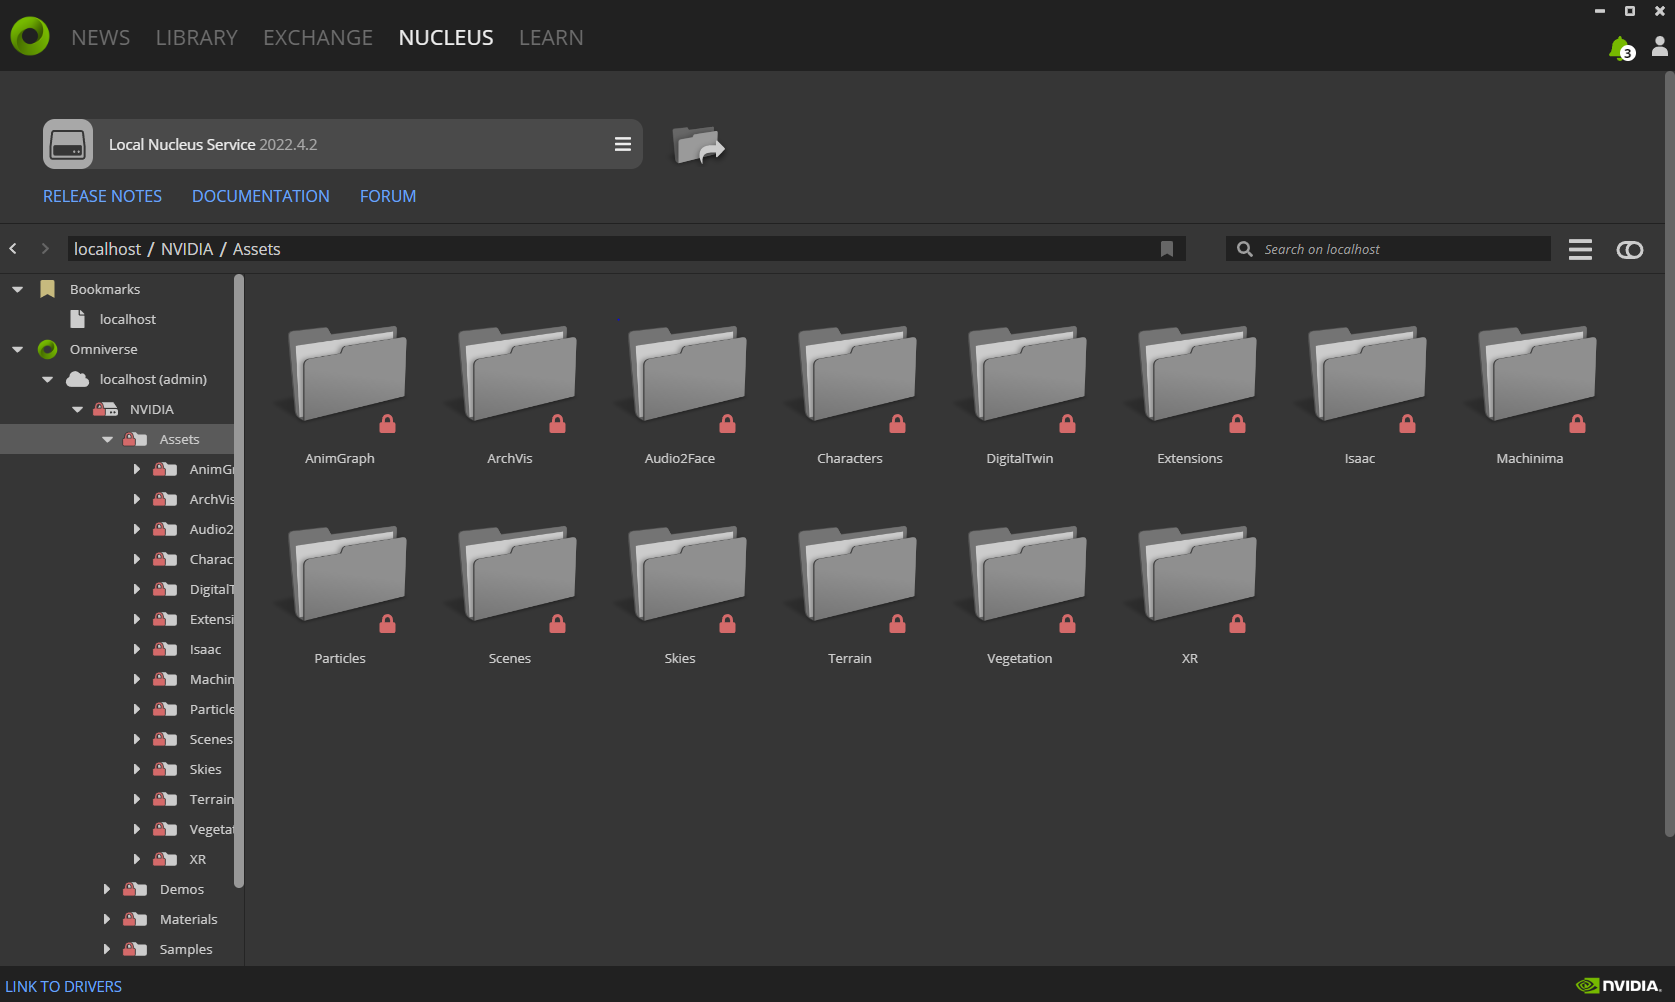
After creating an account all Omniverse assets will be visible.
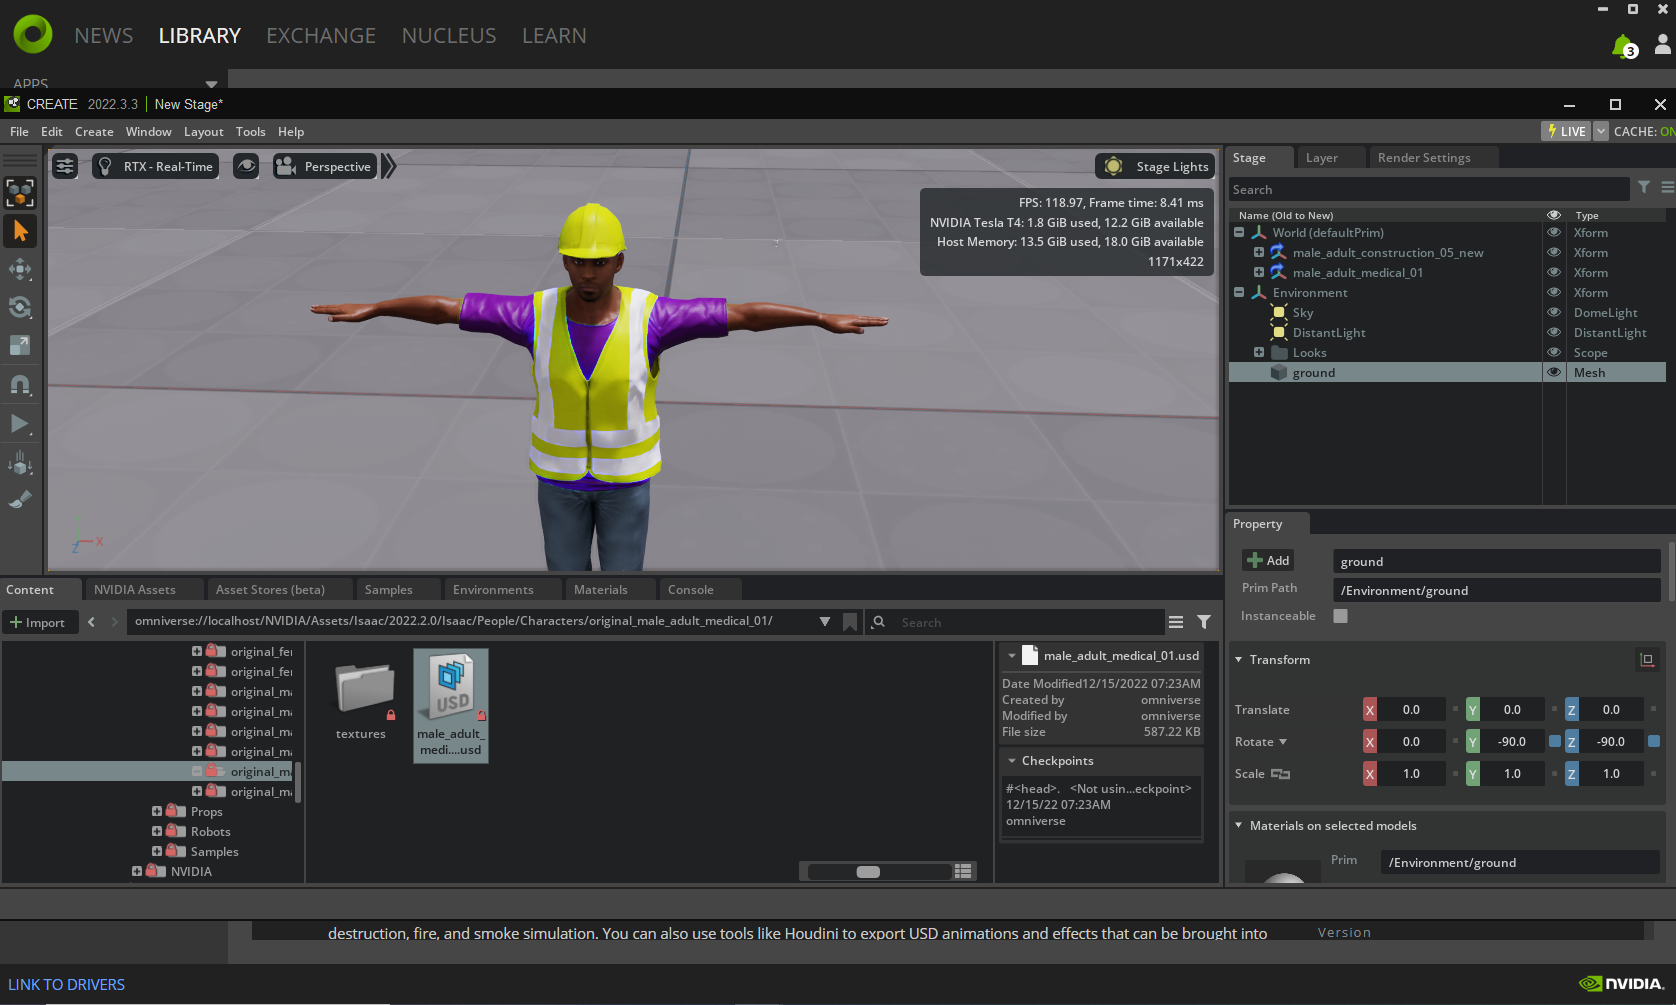
Start using Omniverse!
Dragging omniverse assets in the viewport.